Plane Project: Designing the Flight Computer
To fly and eventually control my glider plane, I will need to build some sort of flight controller.
Design Requirements
When designing this board, there are a few things to think about:
- Needs to be relatively low-cost and low-power
- Have at least 6-8 PWM output channels
- Have a decently powerful processor and memory
Also, at first I tried to implement a 3.3 Volt Arduino, however I reached a few challeneges while trying to integrate a 3.3v microcontroller with a 5v system. So to make things easier for me at first, I decided to also mandate a 5v based microcontroller.
This limits us to basically one board: Arduino Nano Every.
This Nano Every board is somewhat of an Upgrade to the Original Nano board, but it still isn’t anywhere near the computing power we need for this project. This board is simply a “test environment” for this project, to make sure everything works the way we want it to before we move onto autonomous mode.
However, this board still has a lot of features.
- It runs at 20 MHz
- has 48 KB of CPU Flash Memory
- onboard 6 KB of SRAM
- 256 bytes of EEPROM
- has UART, SPI, and I2C compatibility; MUST have multiple UART Channels!!
- all while being 5V compatible
And it’s very cheap; so all in all, this is probably the prefect development board for testing the first few flights of this plane!
Wiring
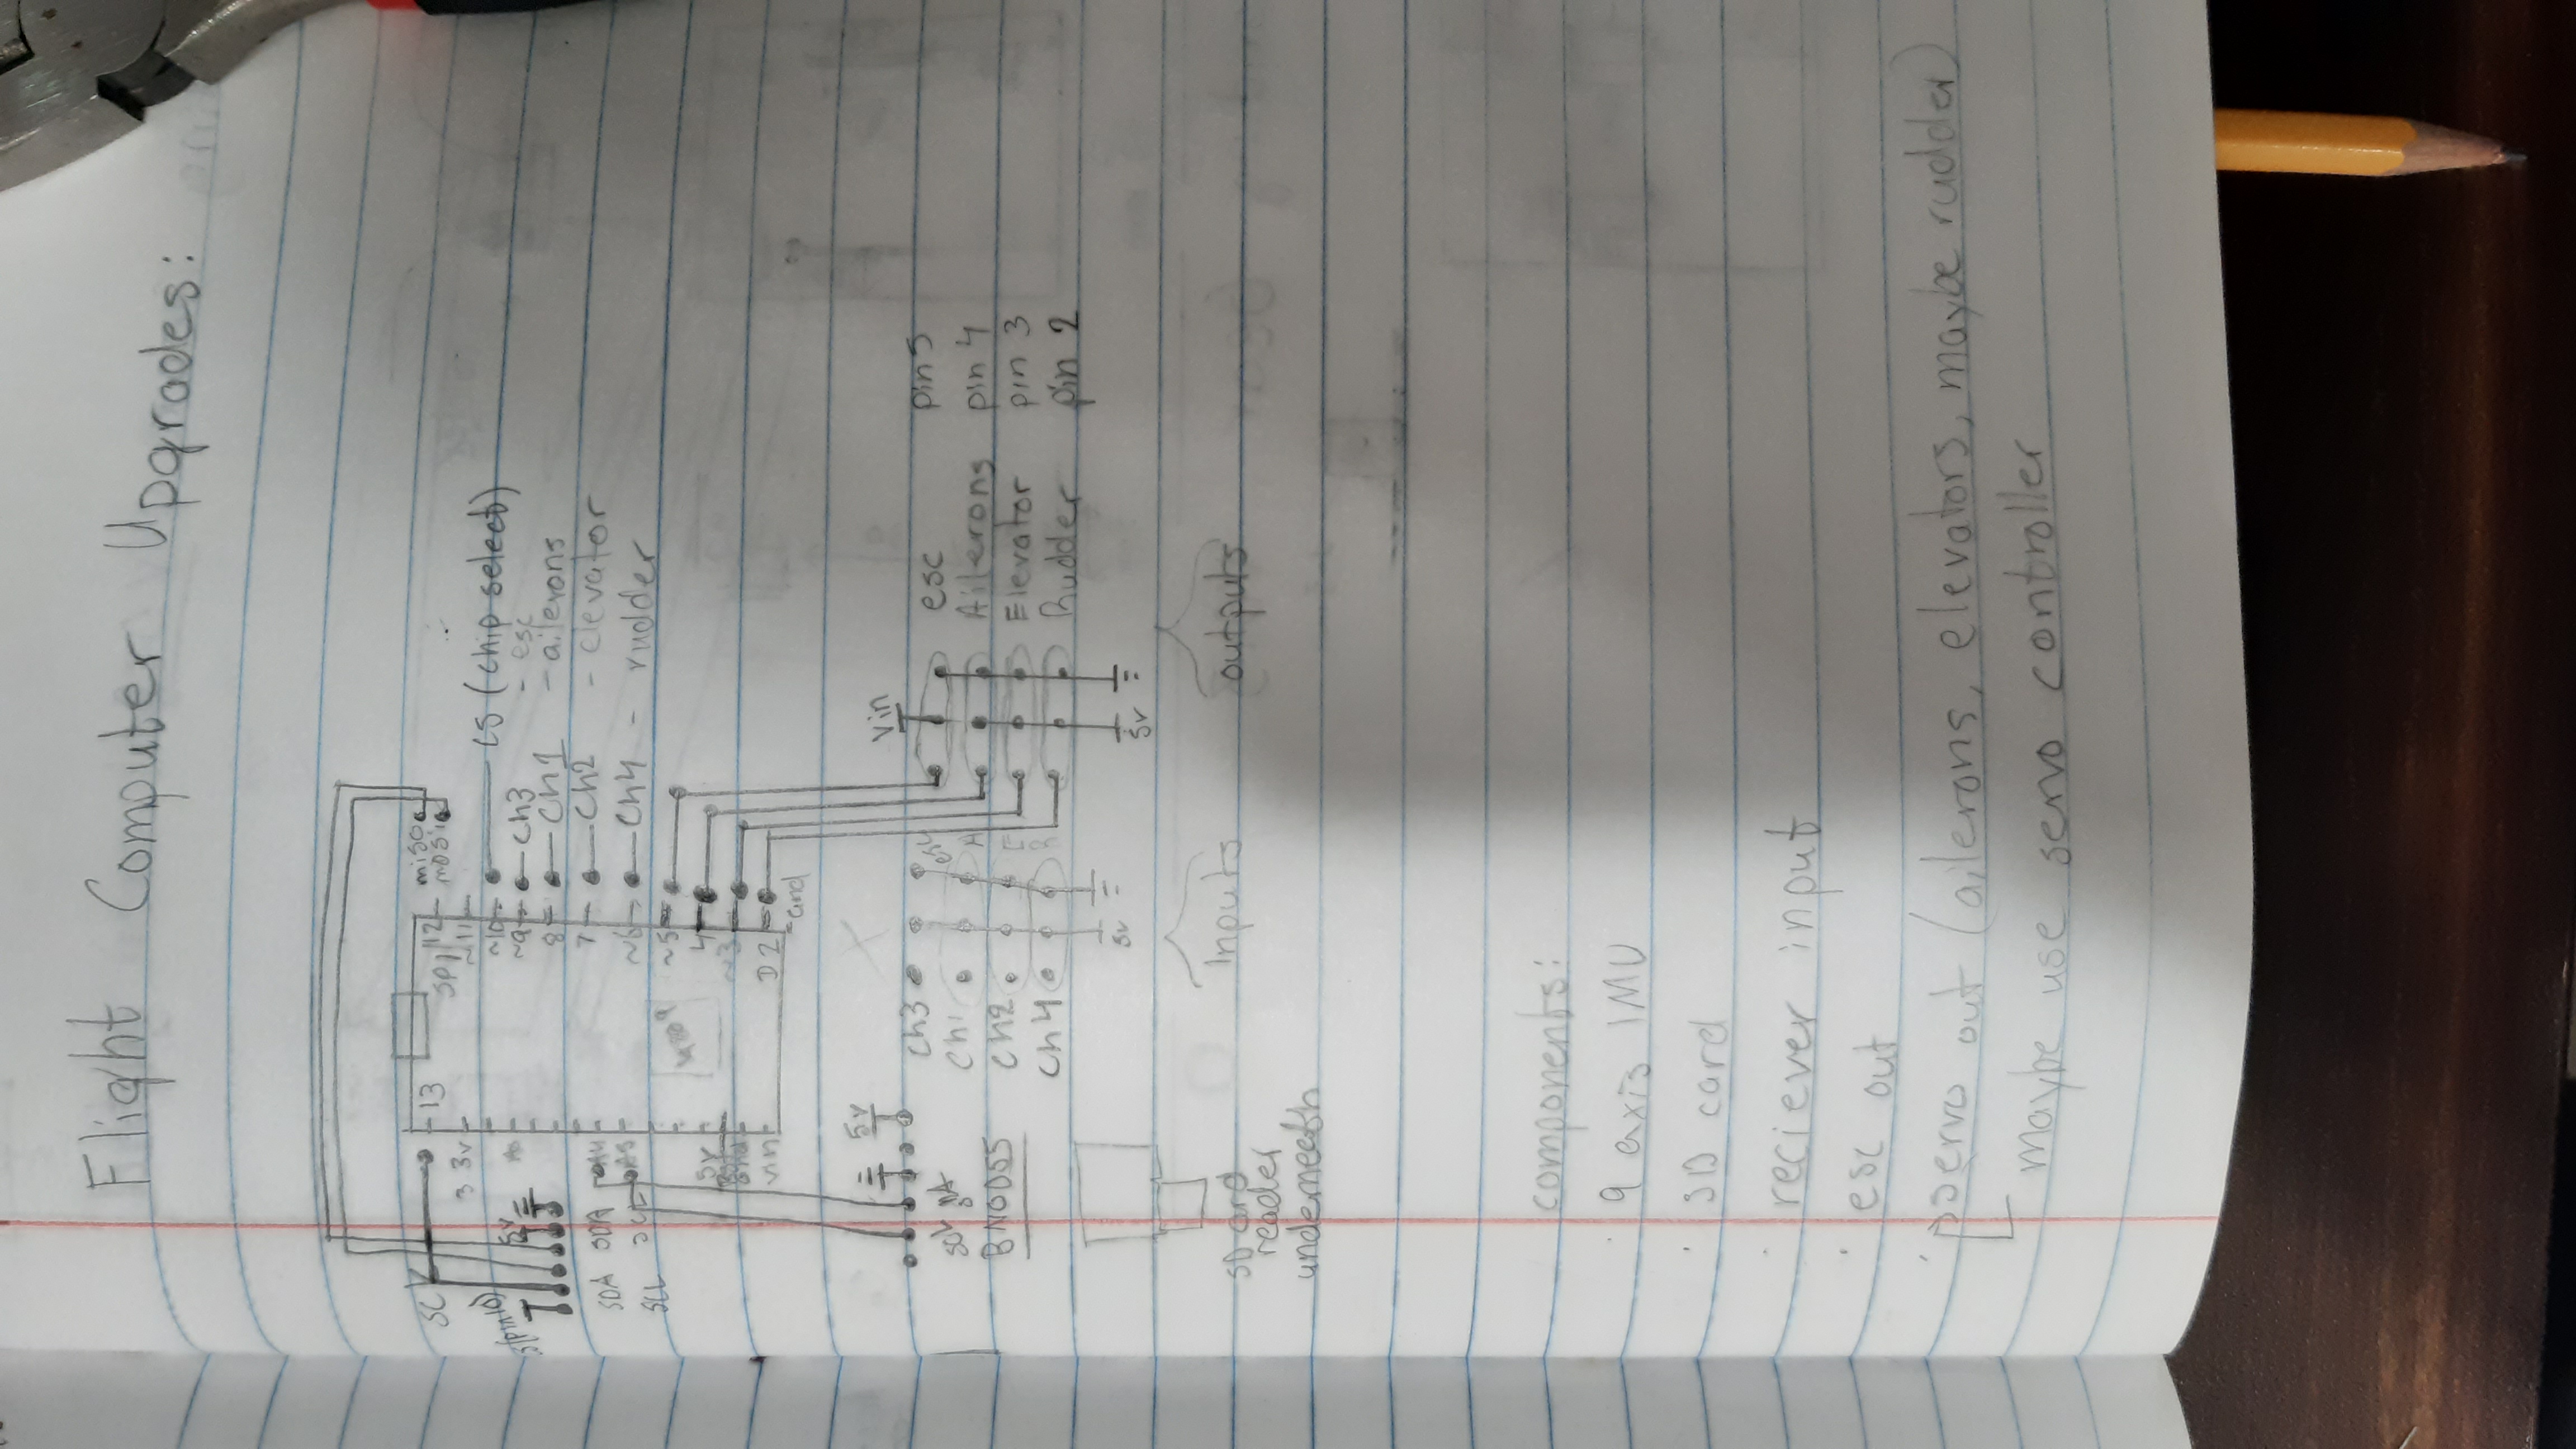
I have drawn up a simple wiring diagram on my Project Notebook:

It’s not a very well defined diagram, it is mainly for me to have a reference as to what goes where as I’m soldering.
For the first version, there will be only two characteristics: read data packets from the radio receiver and send control signals to the control surfaces. That means we don’t need to add a IMU yet.
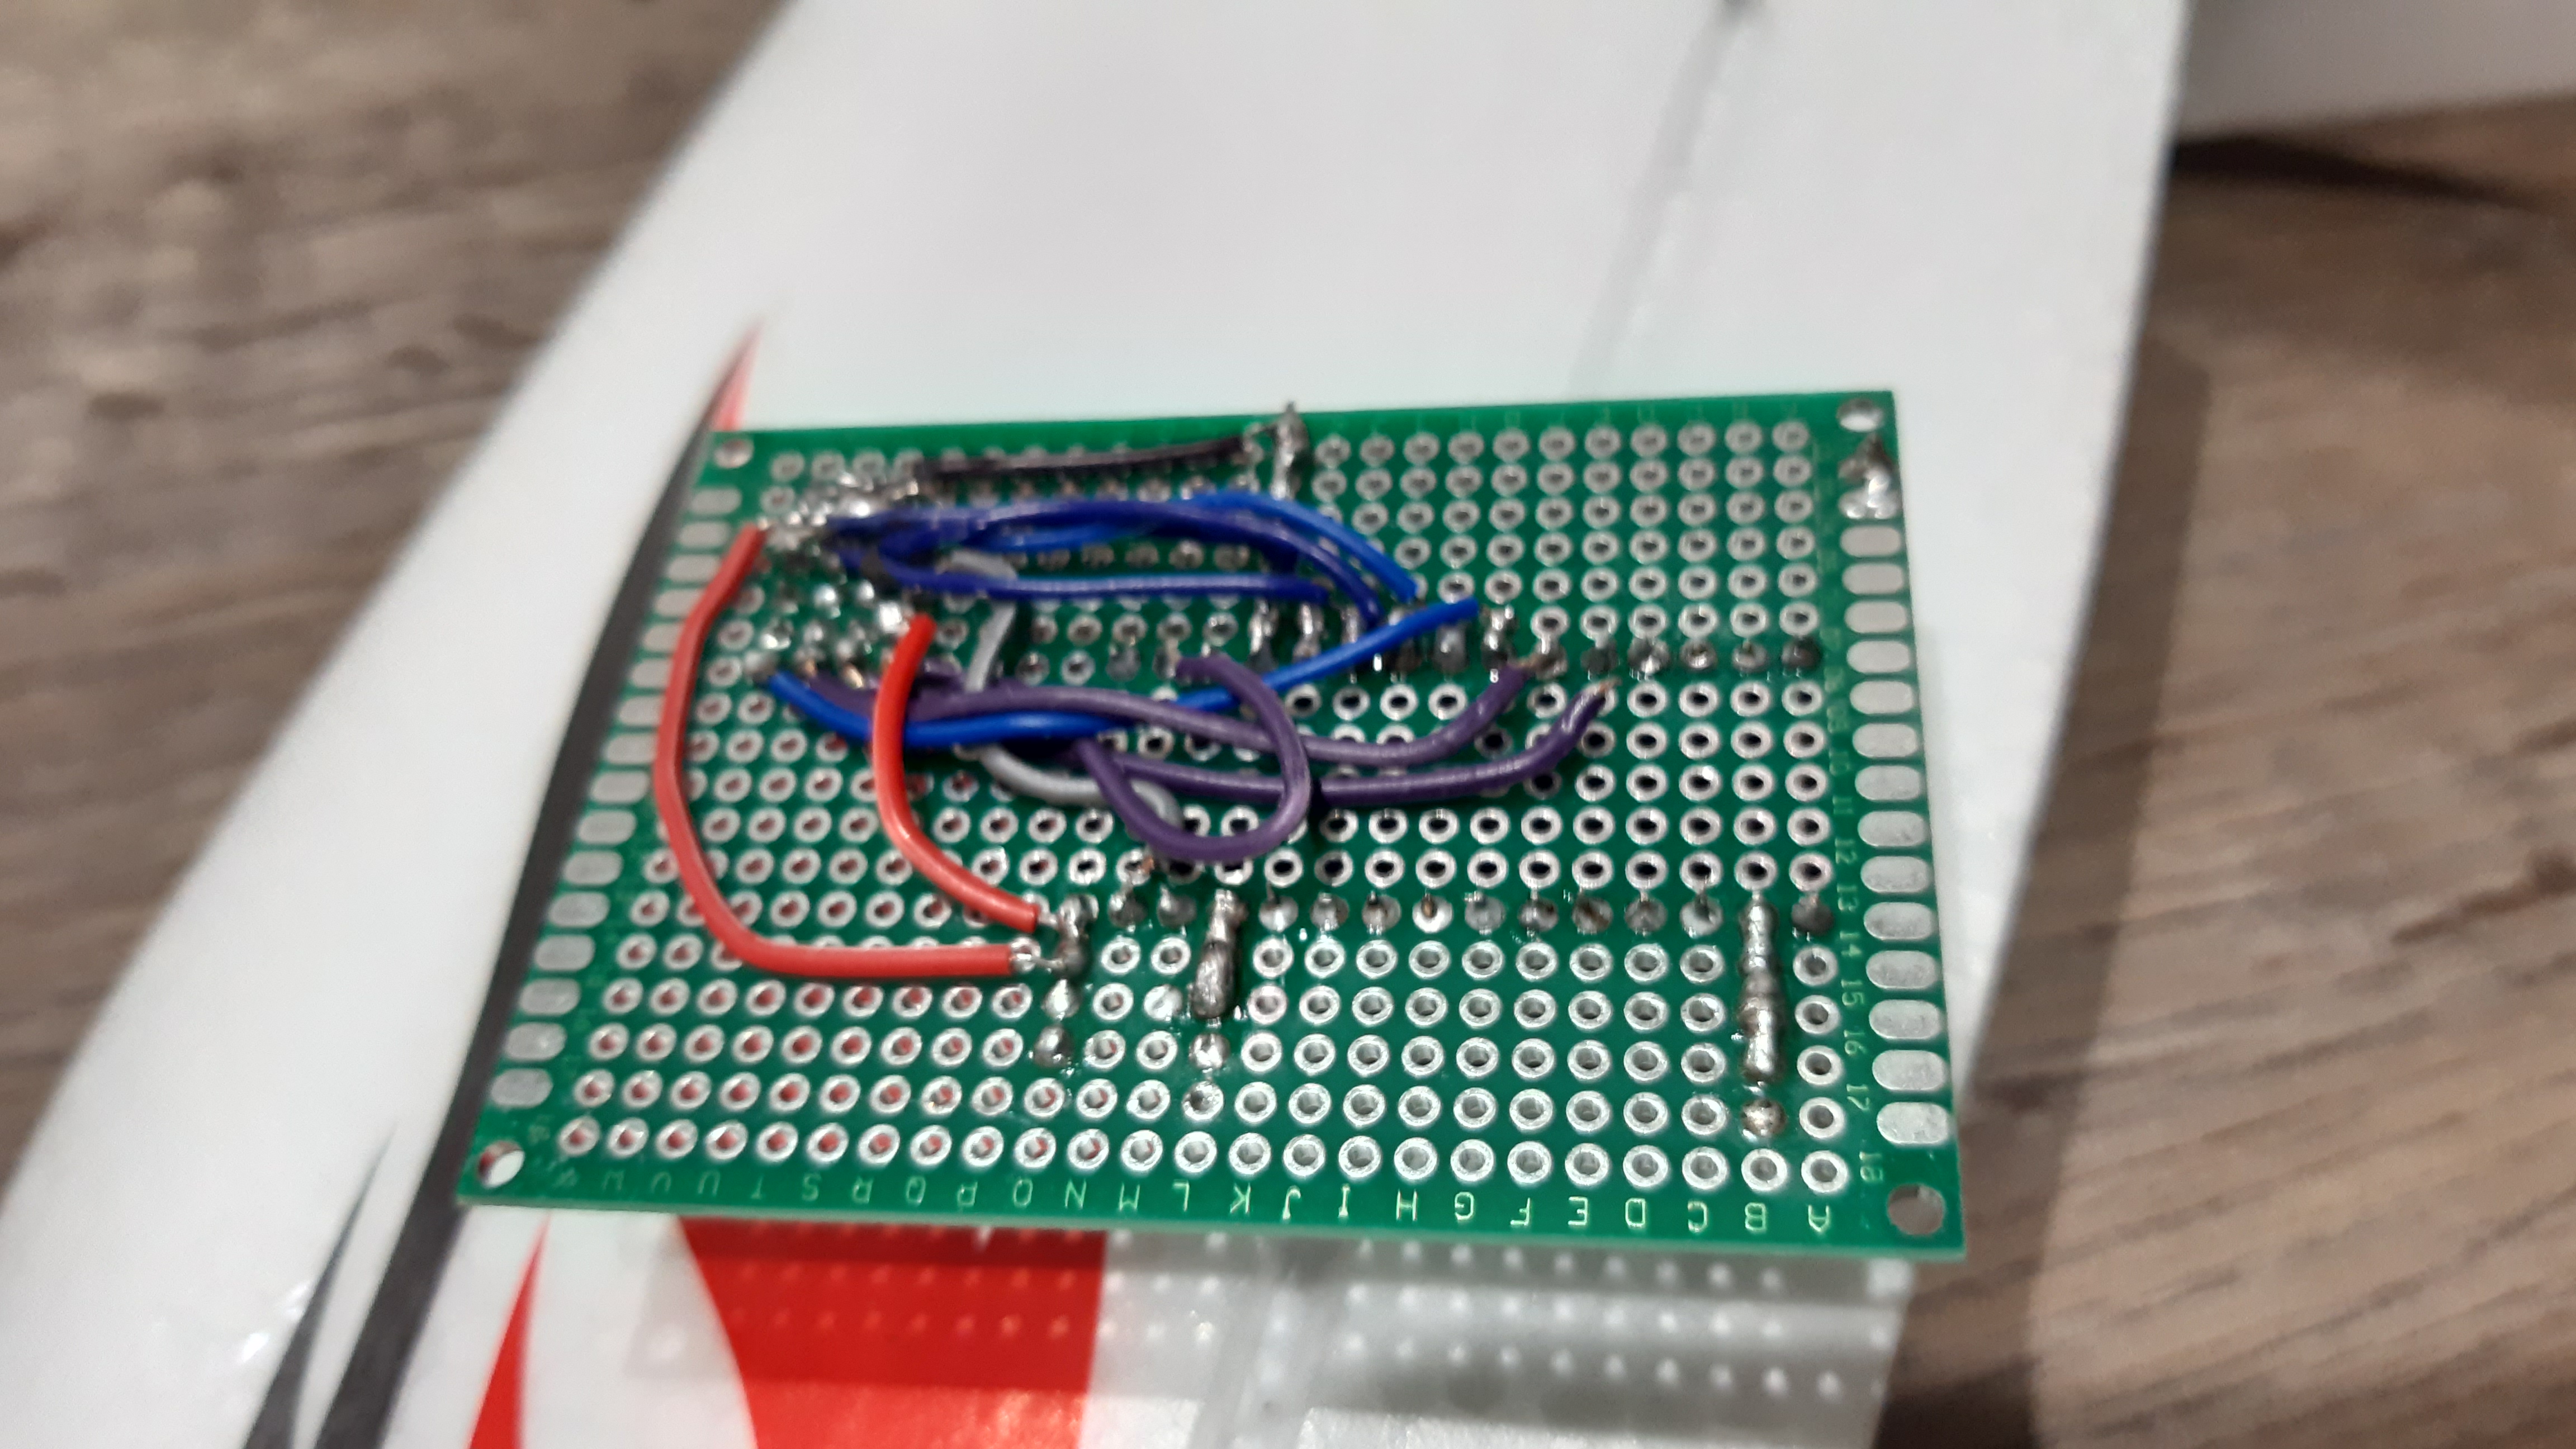
After I have soldered everything by hand, here is the final result:

It is very simple, for now all we need is access to PWM channels to control the motor and control surfaces. Furthermore, we need an i2c input from the radio receiver.
The Case - UPDATE - July 9th, 2022

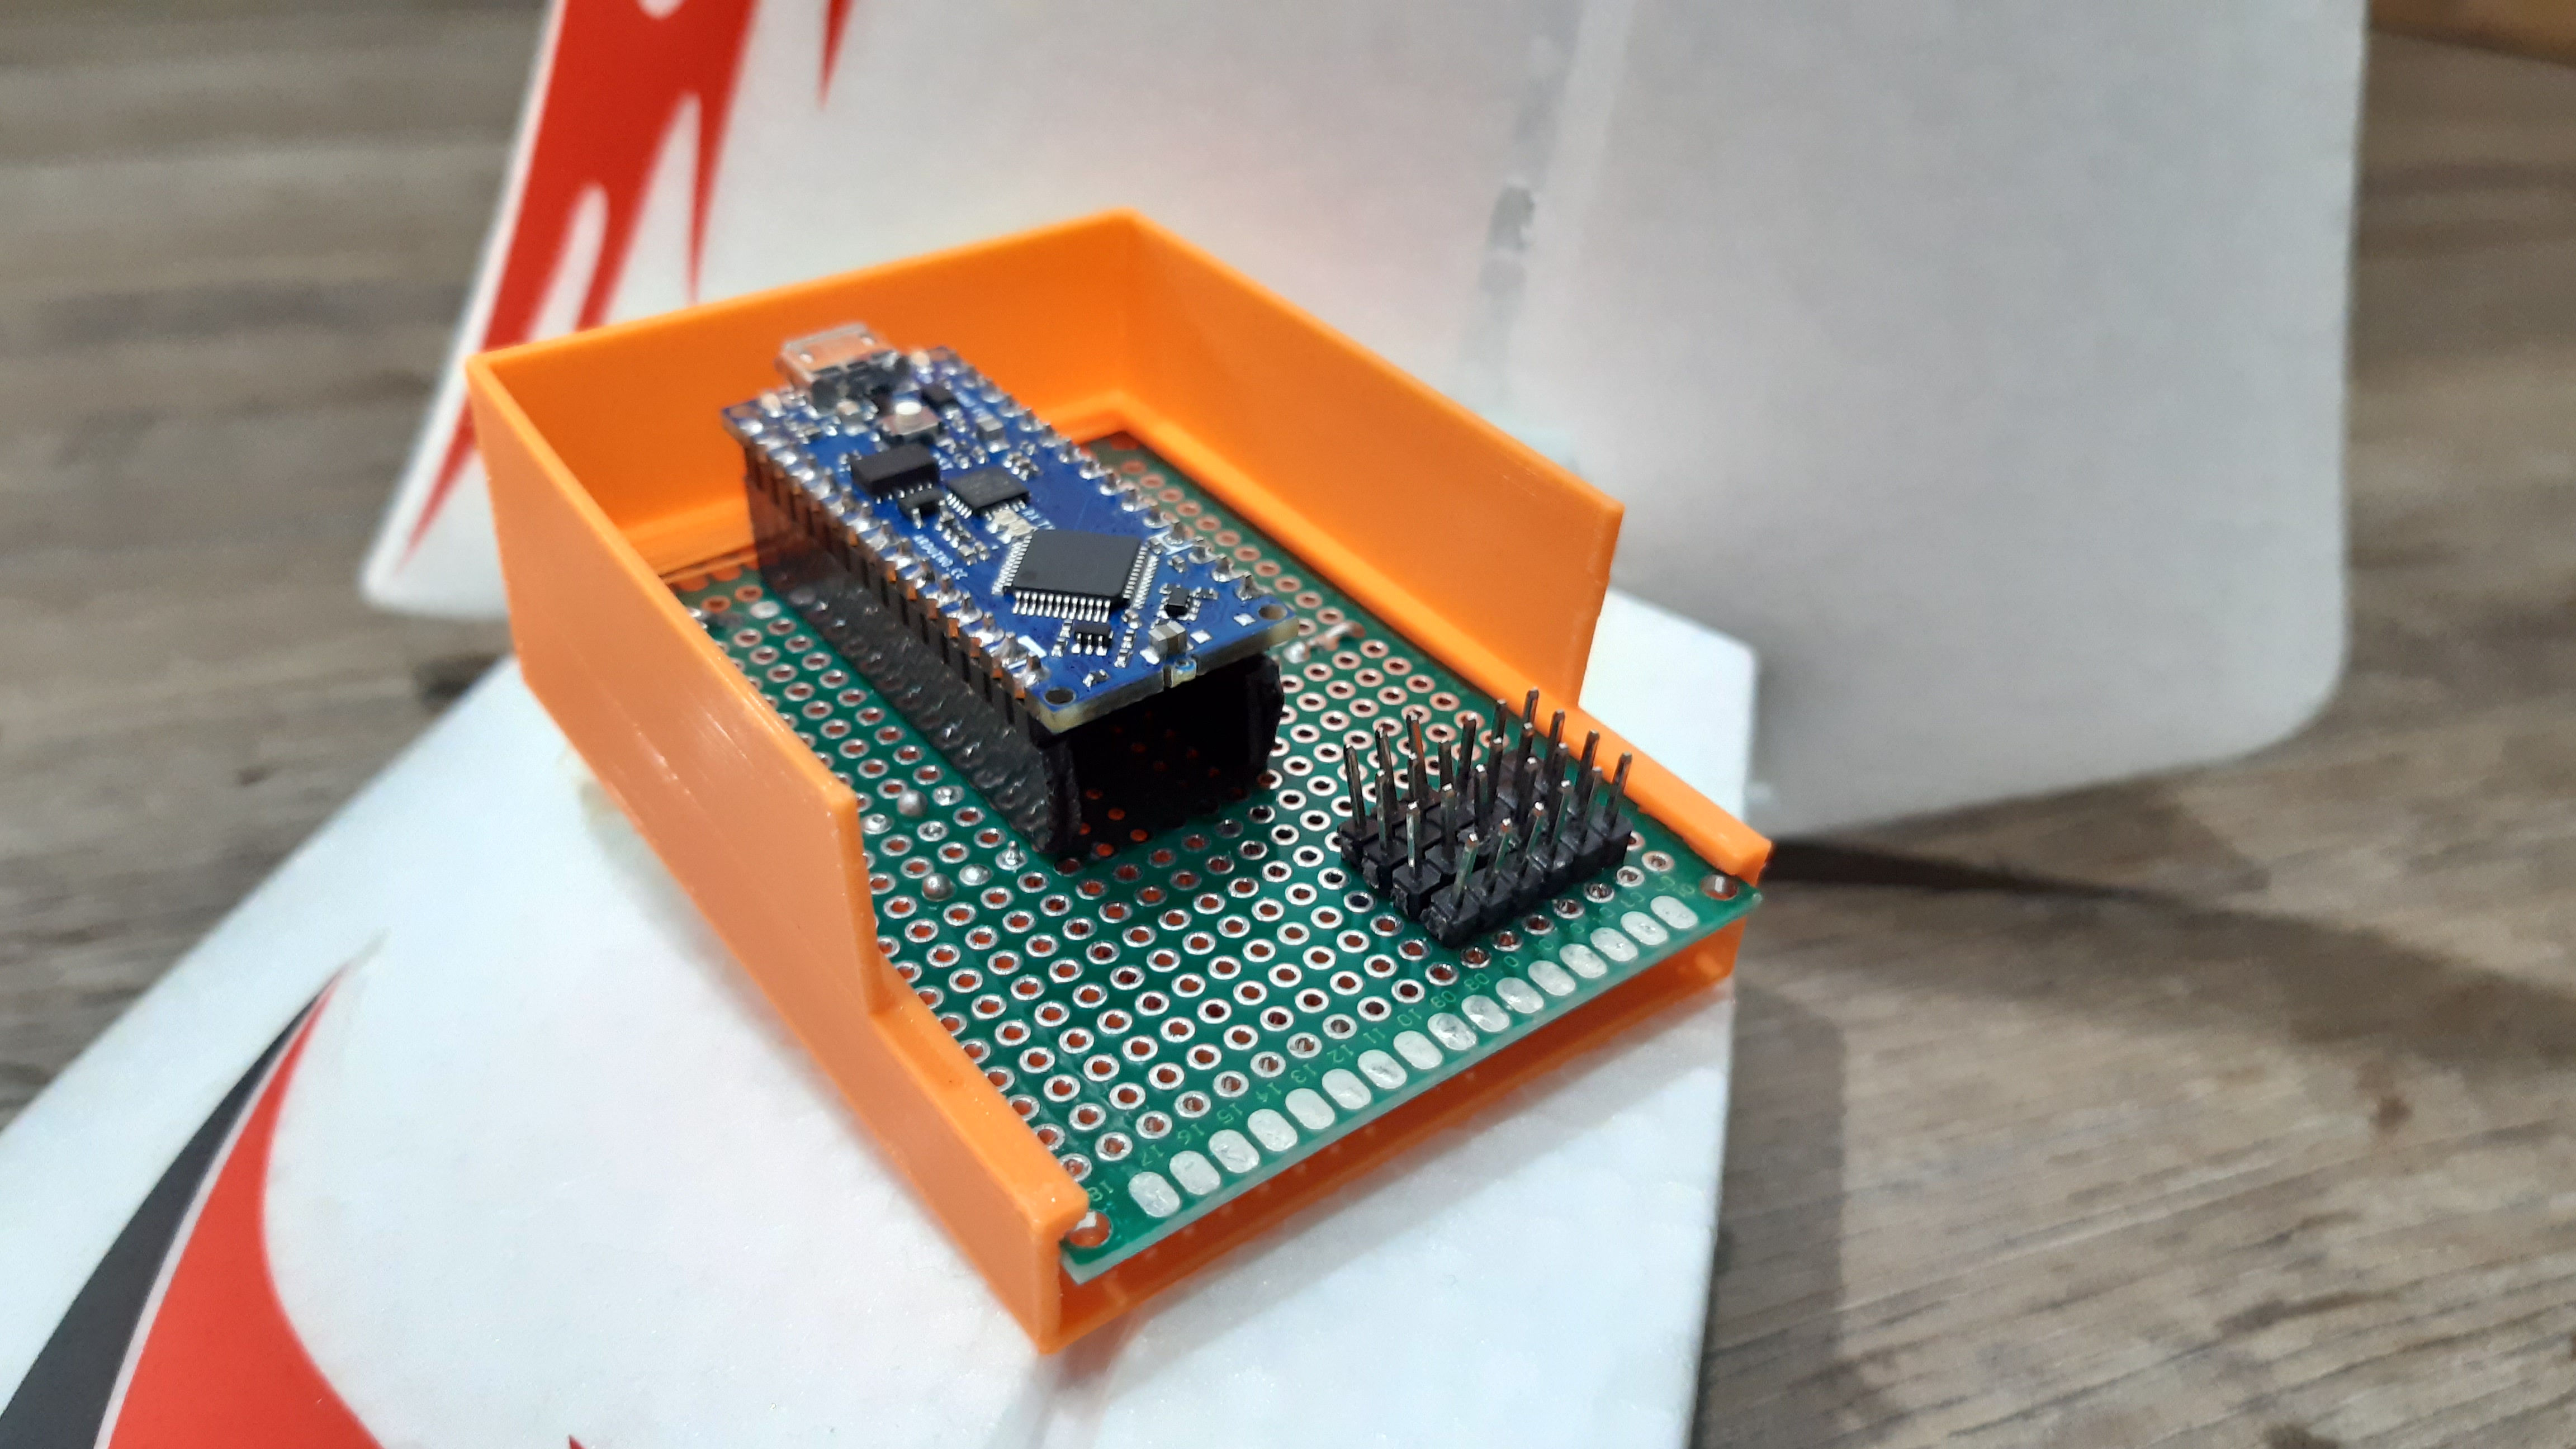
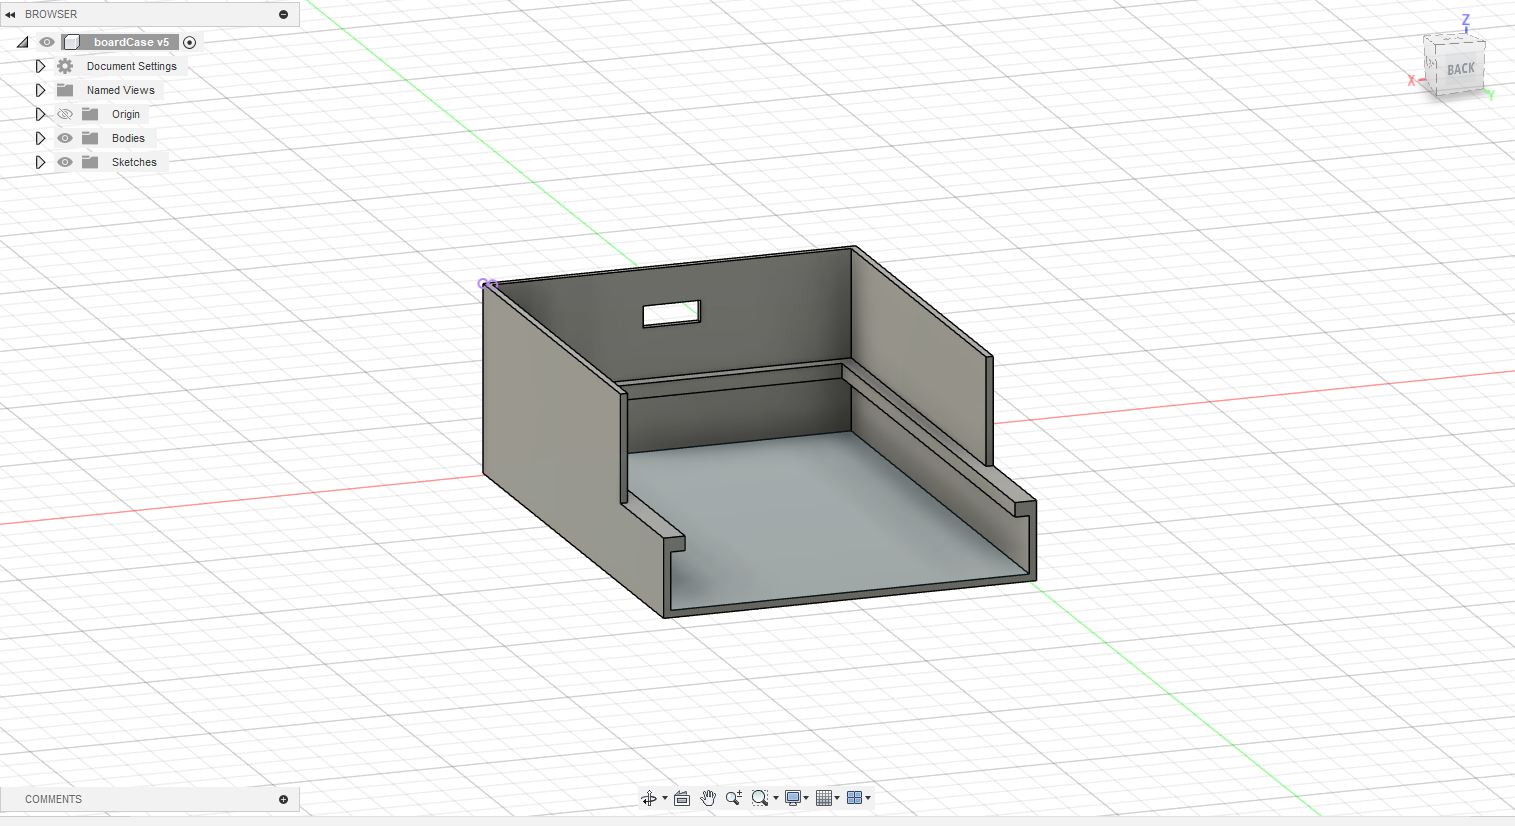
to secure this board in the frame of the plane, I 3D designed a case in Autodesk Fusion 360. Around this time, I finally saved enough money to buy myself a 3D printer. I got it on discount so it was quite cheap, but still. I bought the Ender 3 V2 3D Printer from Amazon.

Later, once I go into integration, I will show you my plans in how I want to put this into the frame of the plane. This was just a quick “background” info type of post.
Thanks!
Subscribe to Burak Ayyorgun
Get the latest posts delivered right to your inbox